Create your first invoice
After completing jobs, you can start generating invoices for your clients.
You can aggregate multiple jobs into a single invoice and you can also send your invoice directly to your client via email.
Here's what we are going to do
Let's get started
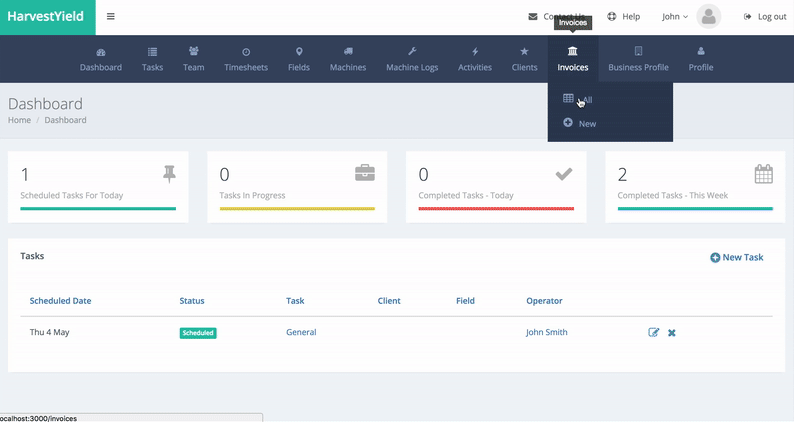
Step 1
Click on the "New" link from the "Invoices" menu

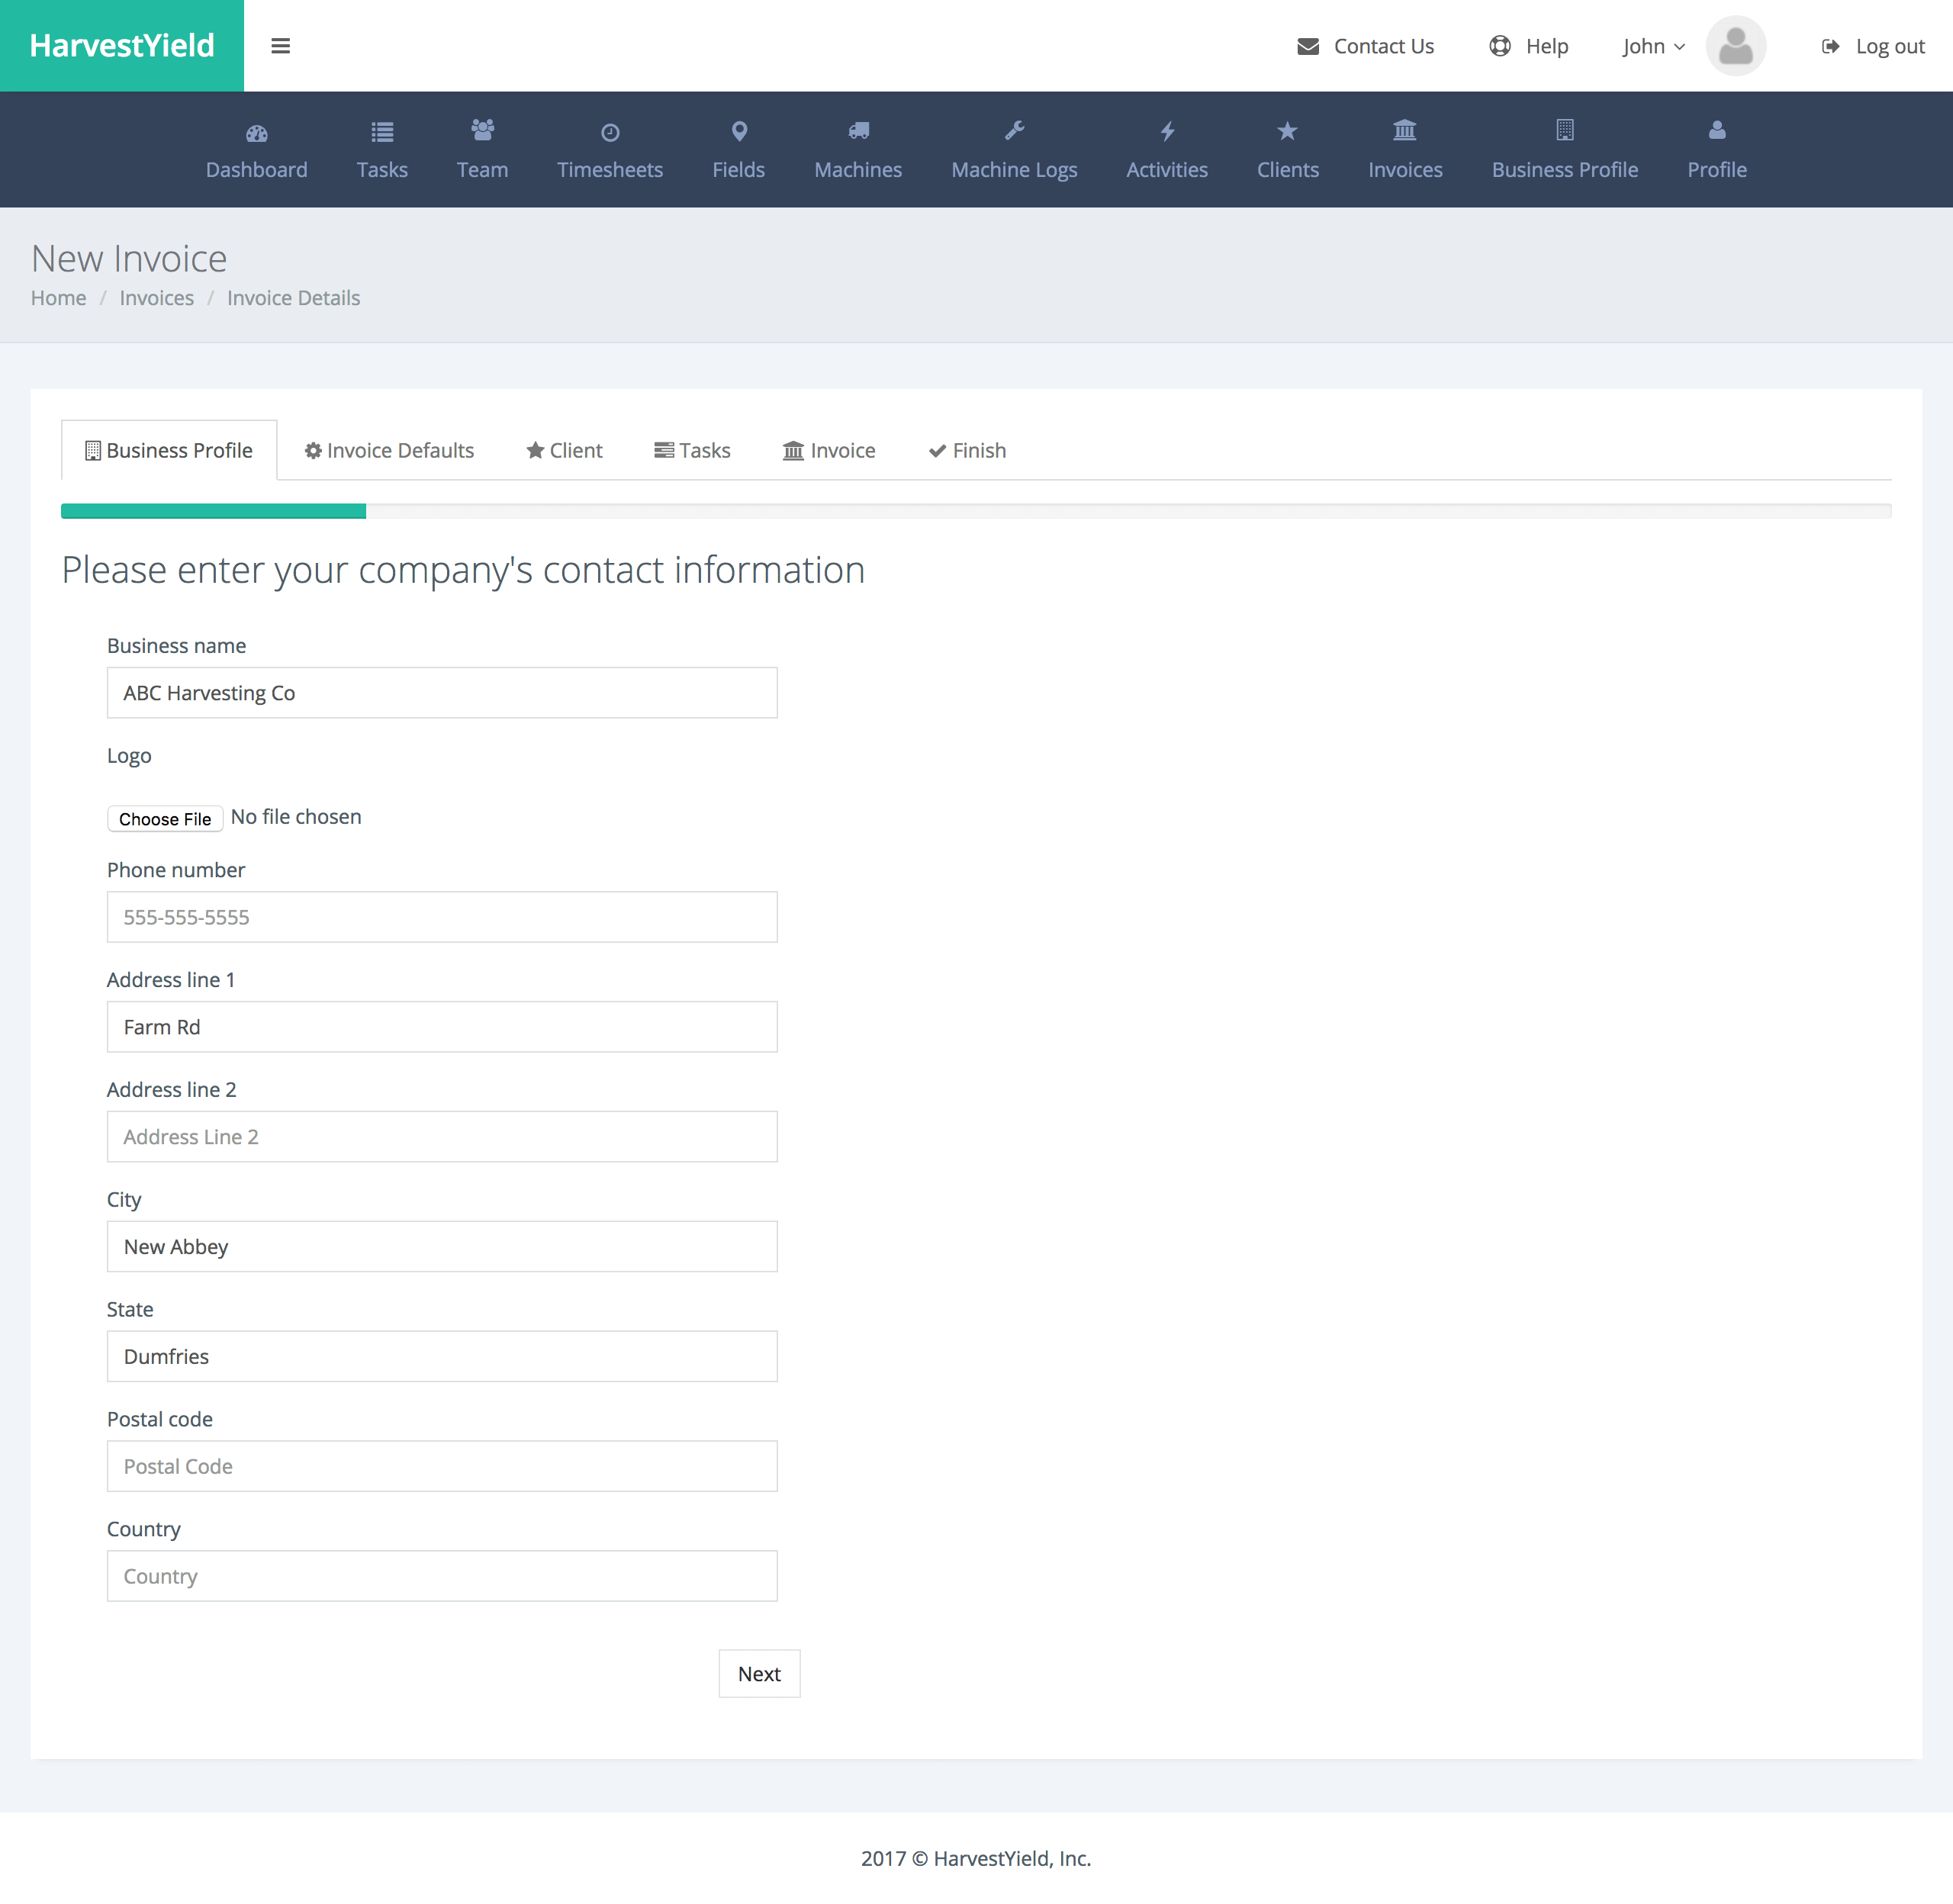
Step 2
Fill out your Business Profile and click on the "Next" button
This step will be skipped automatically after your first invoice but you can always go back and edit these fields with a click on the "Invoice Defaults" tab.
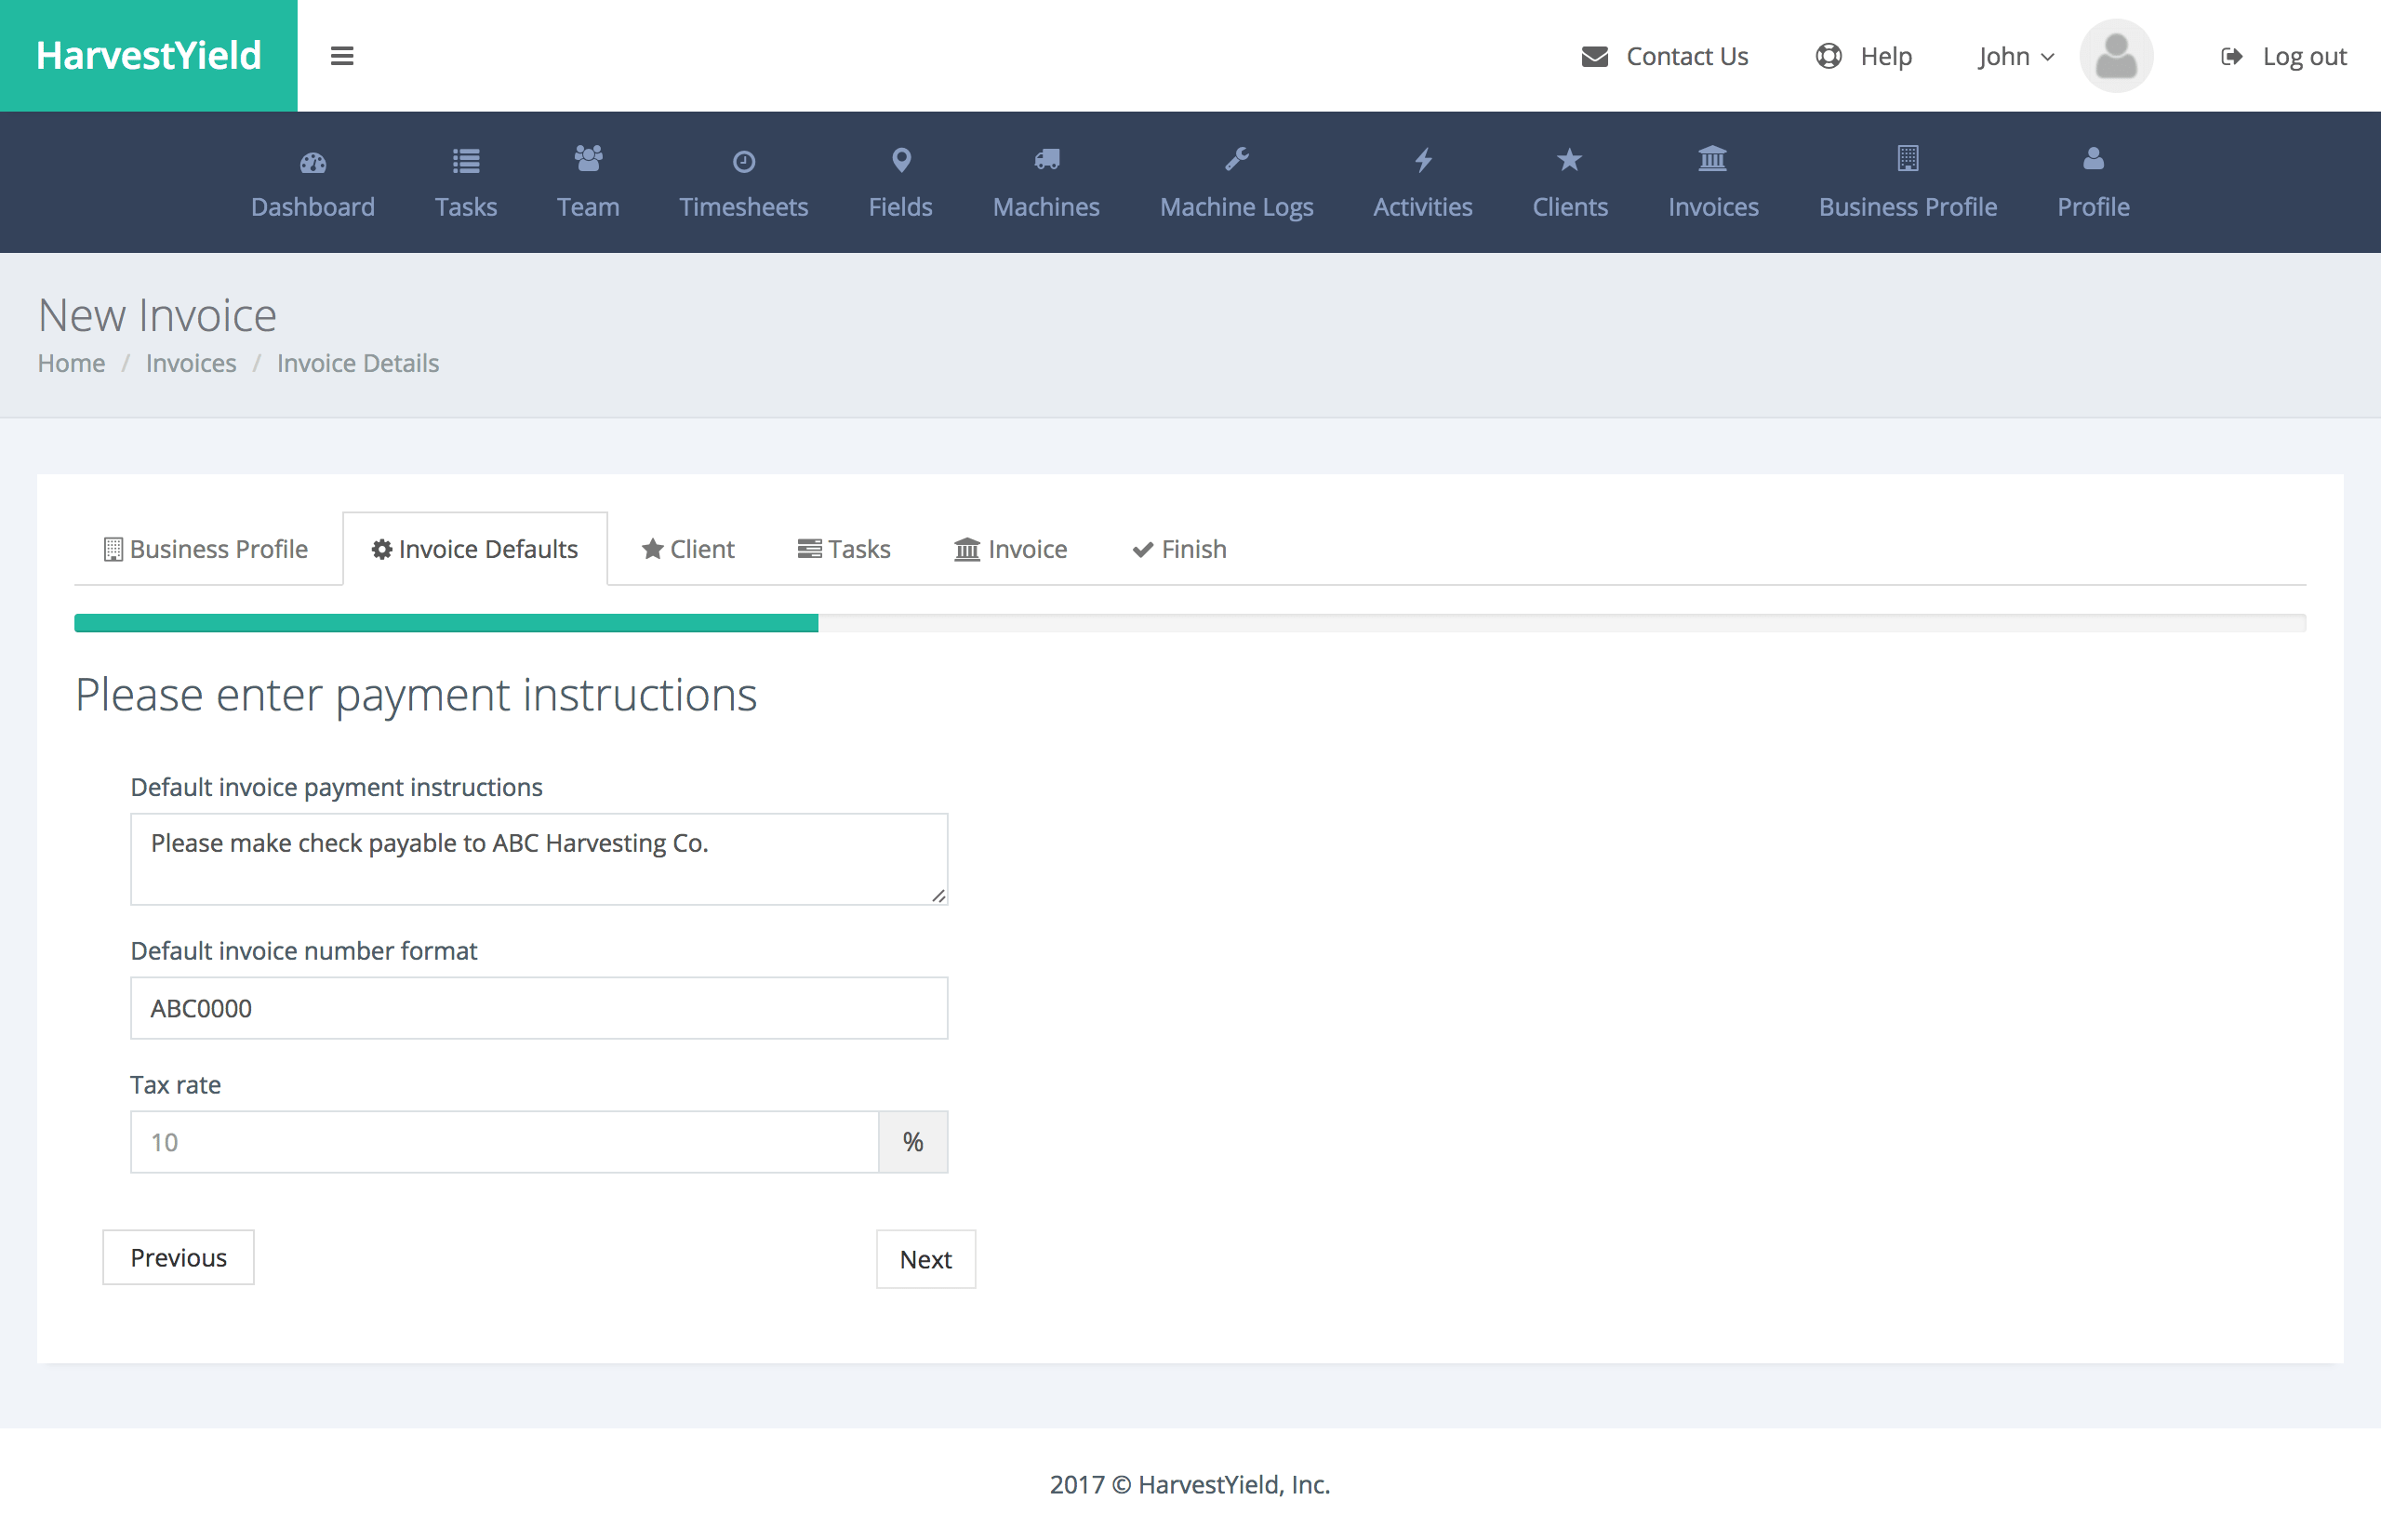
Step 3
Fill out your Invoice Default details and click on the "Next" button
This step will be skipped automatically after your first invoice but you can always go back and edit these fields with a click on the "Invoice Defaults" tab.
Step 4
Select a client from the dropdown menu and click on the "Next" button
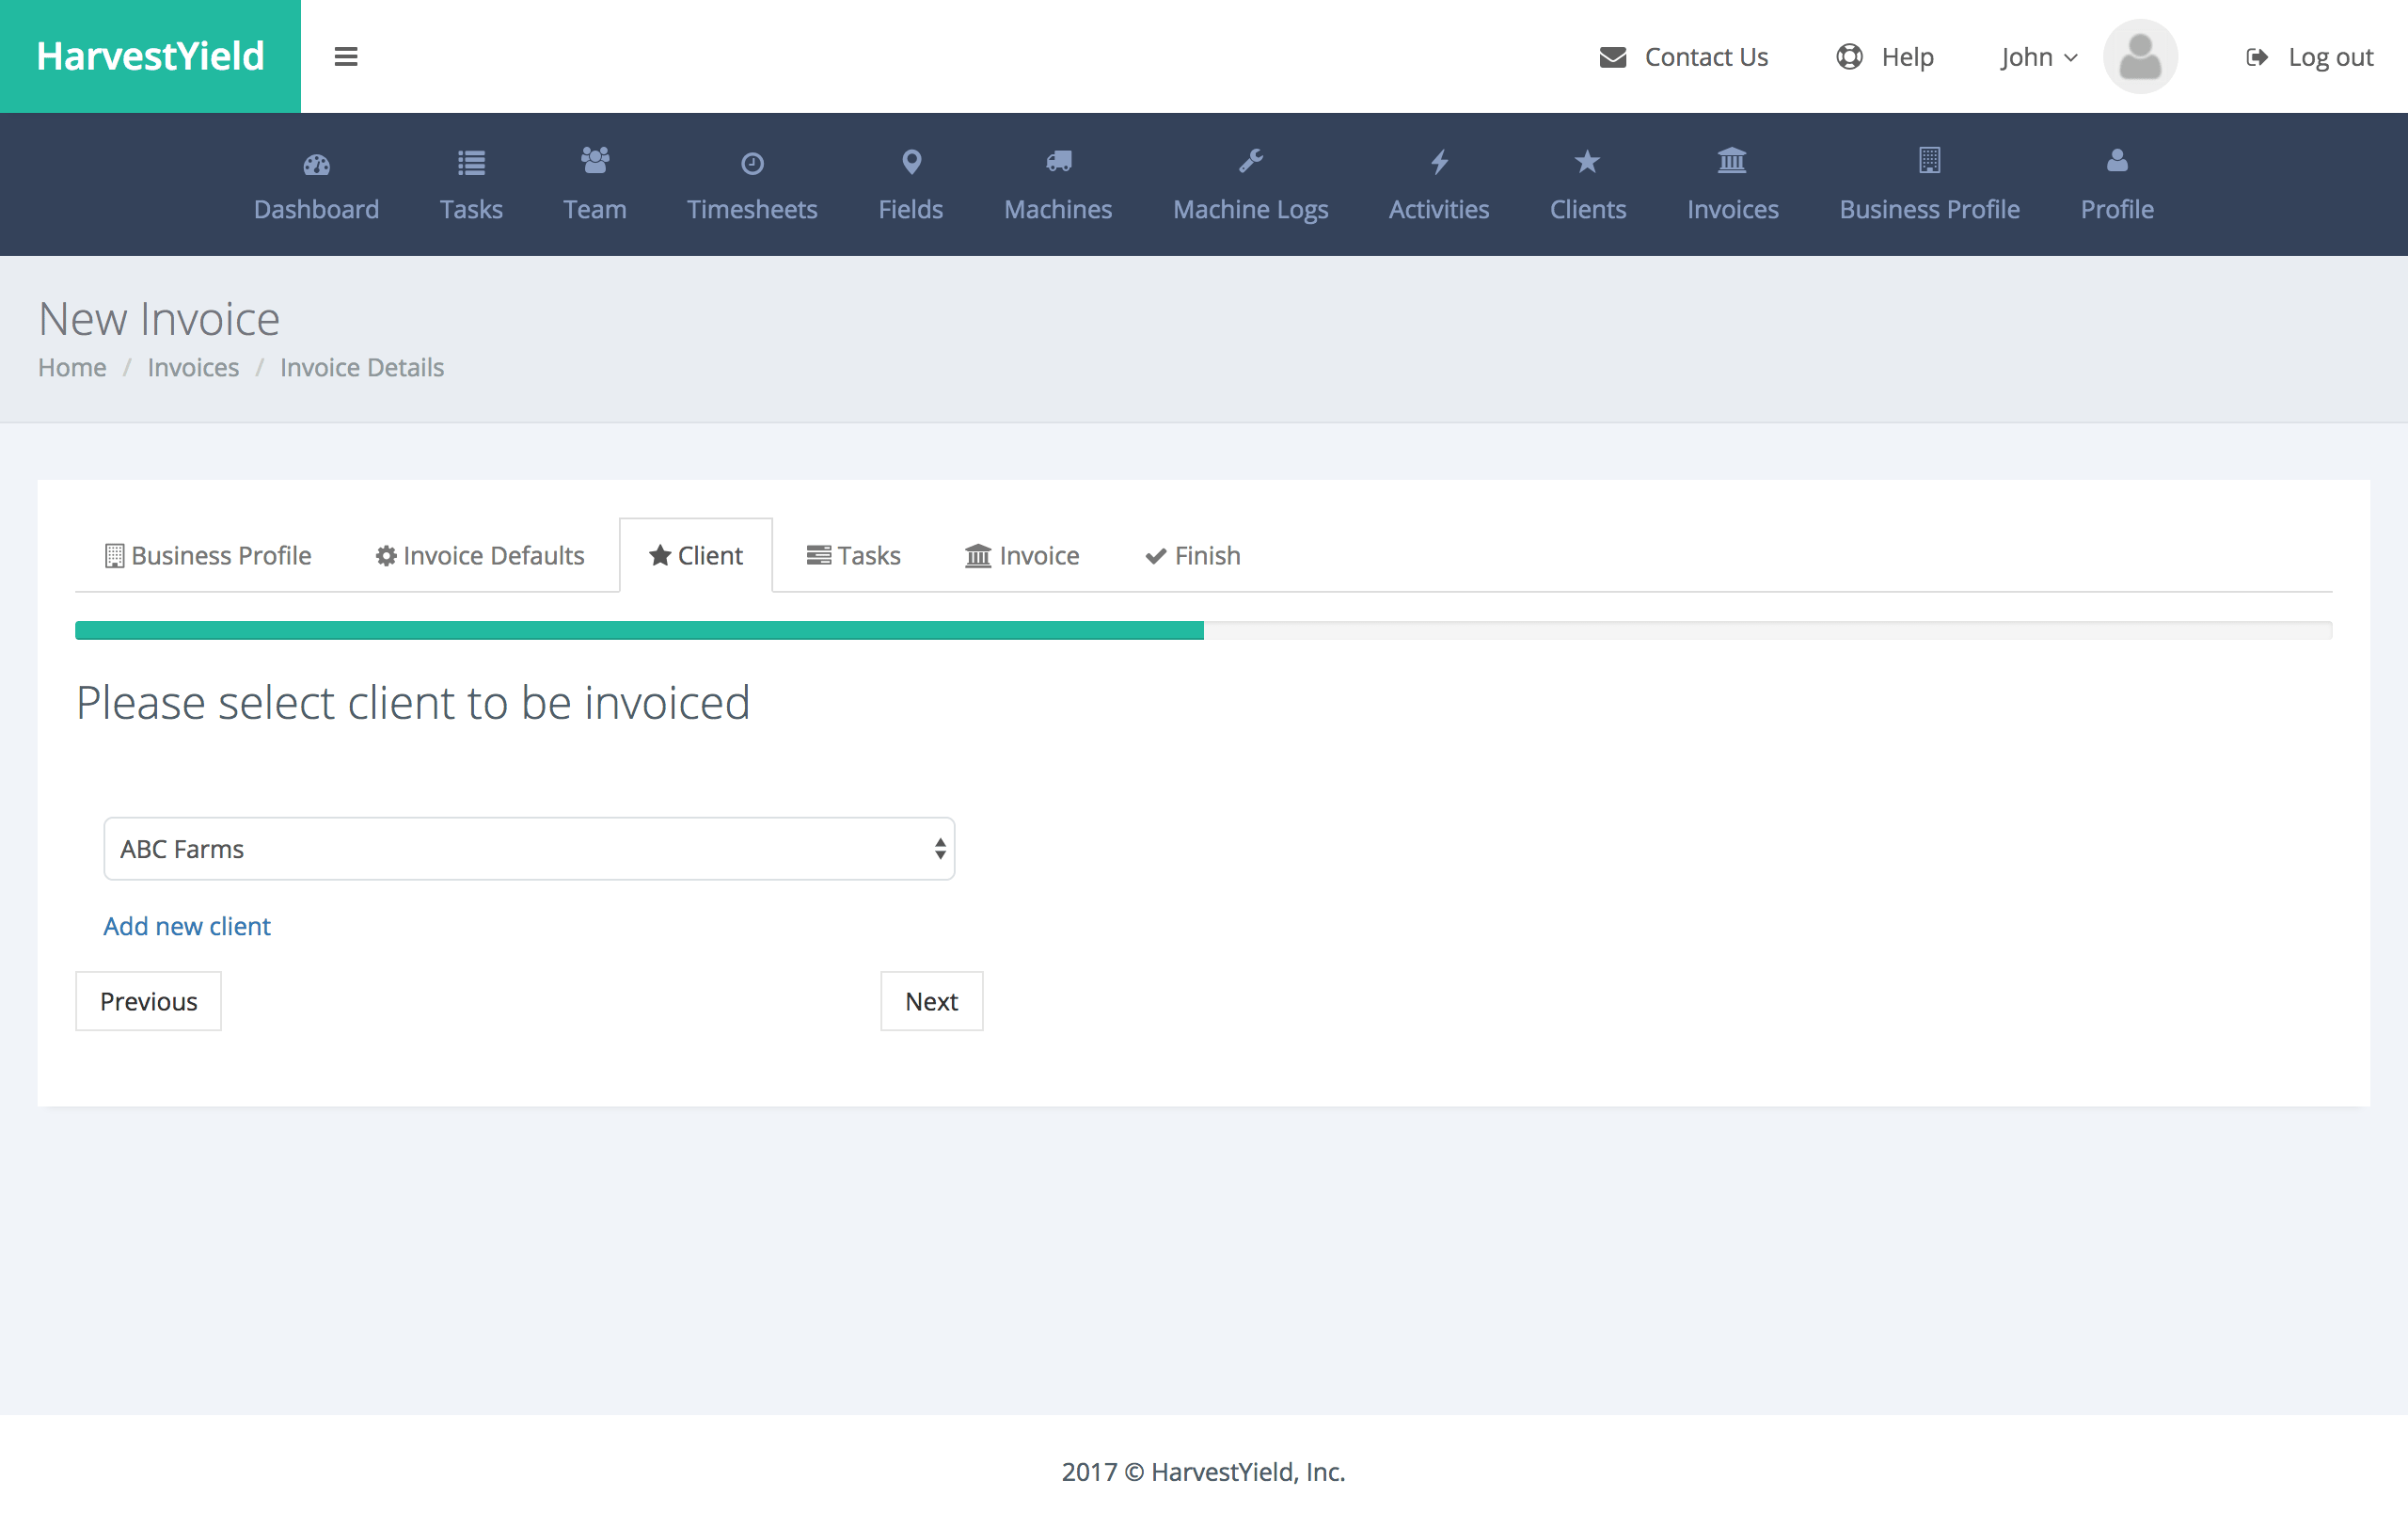
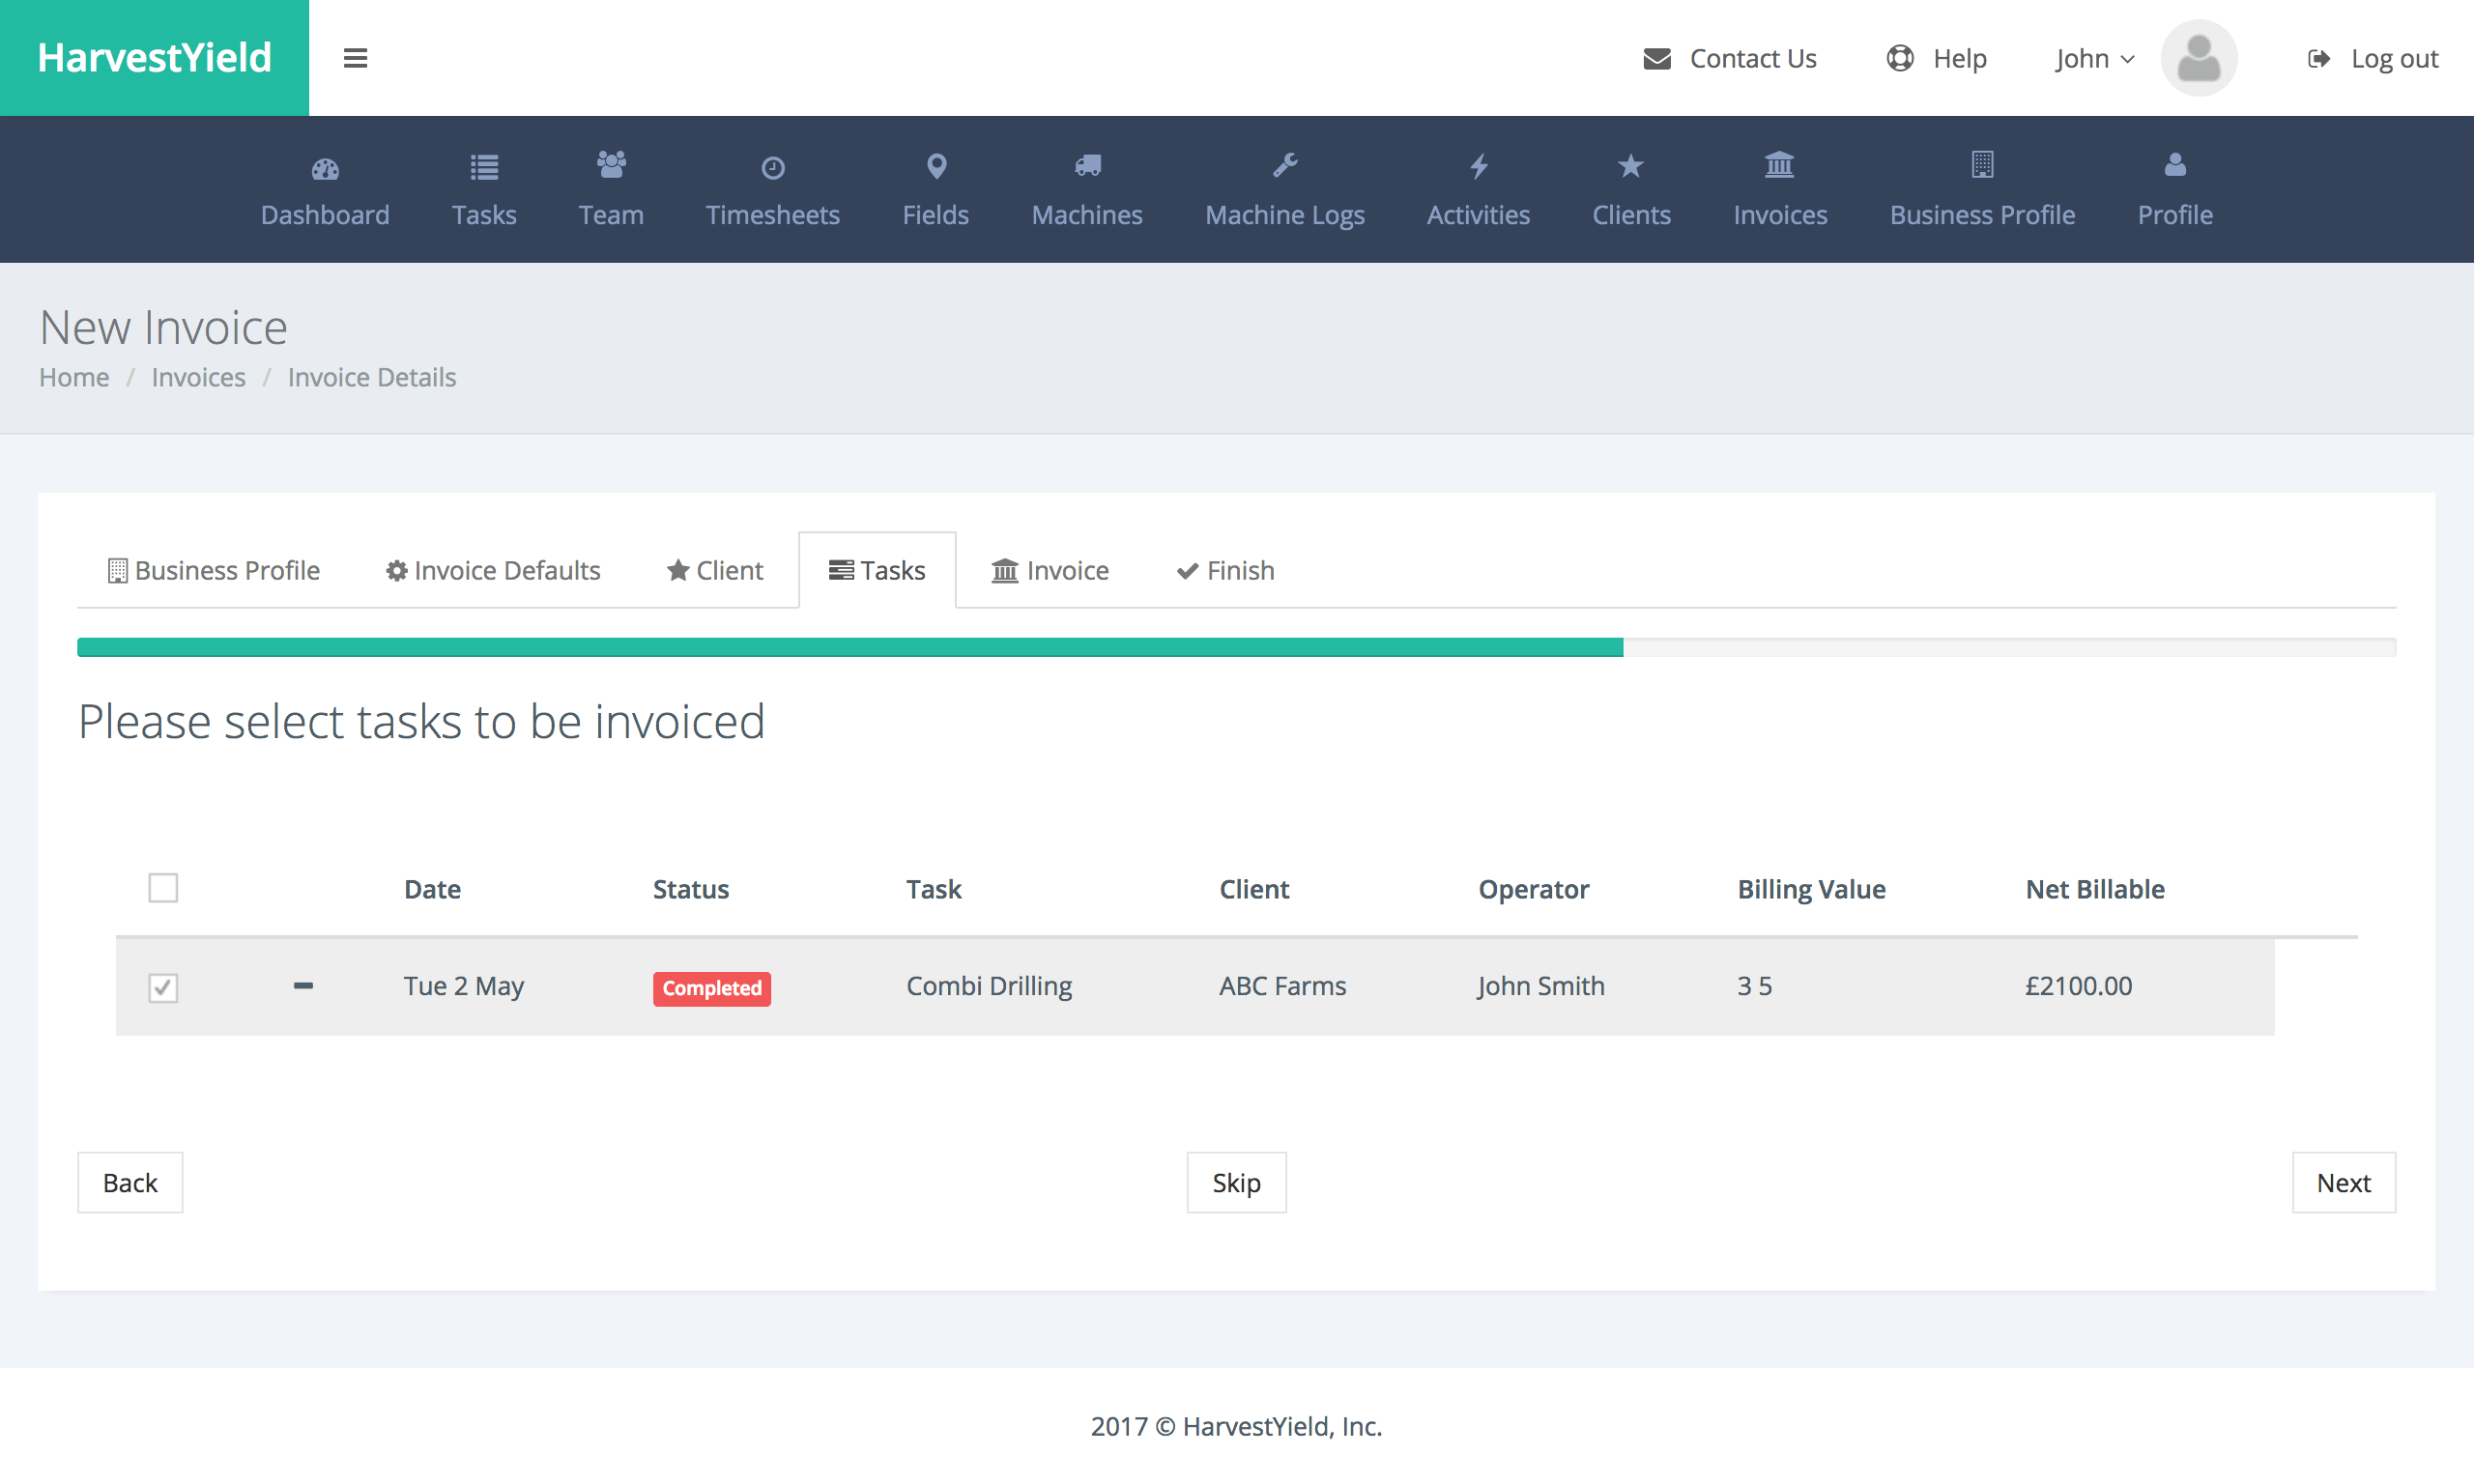
Step 5
Select the client's job(s) to be invoiced and click on the "Next" button
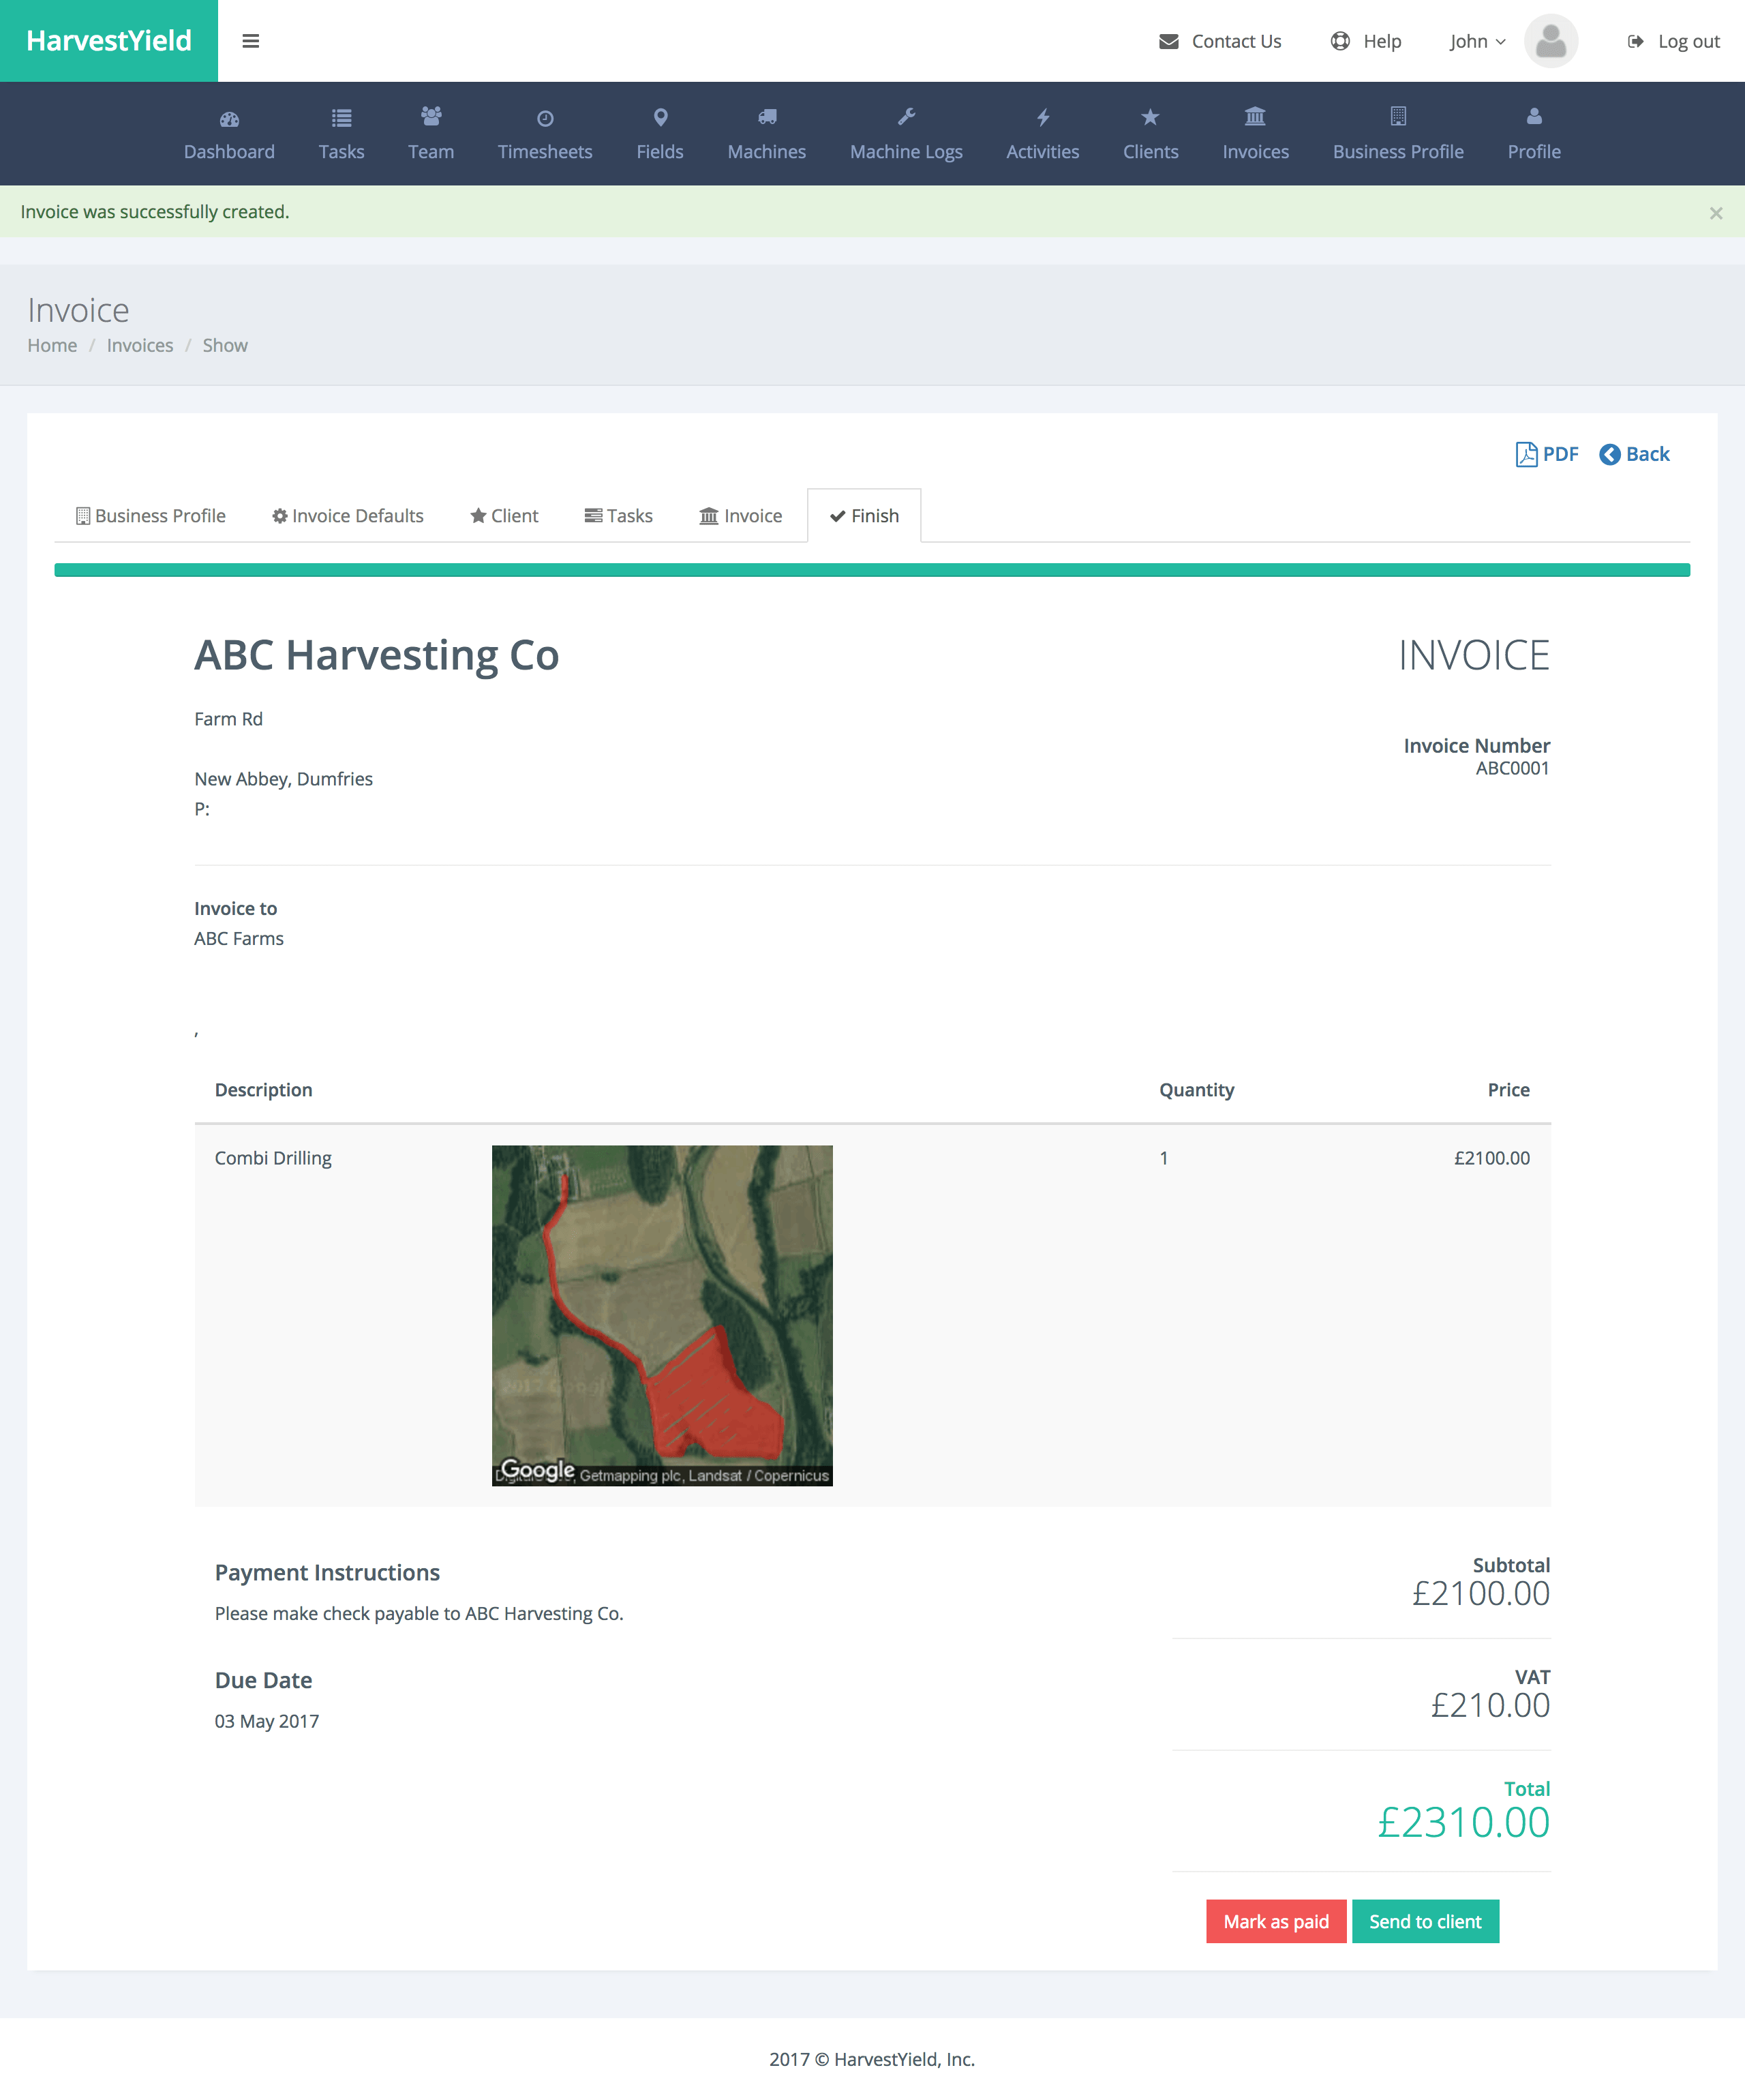
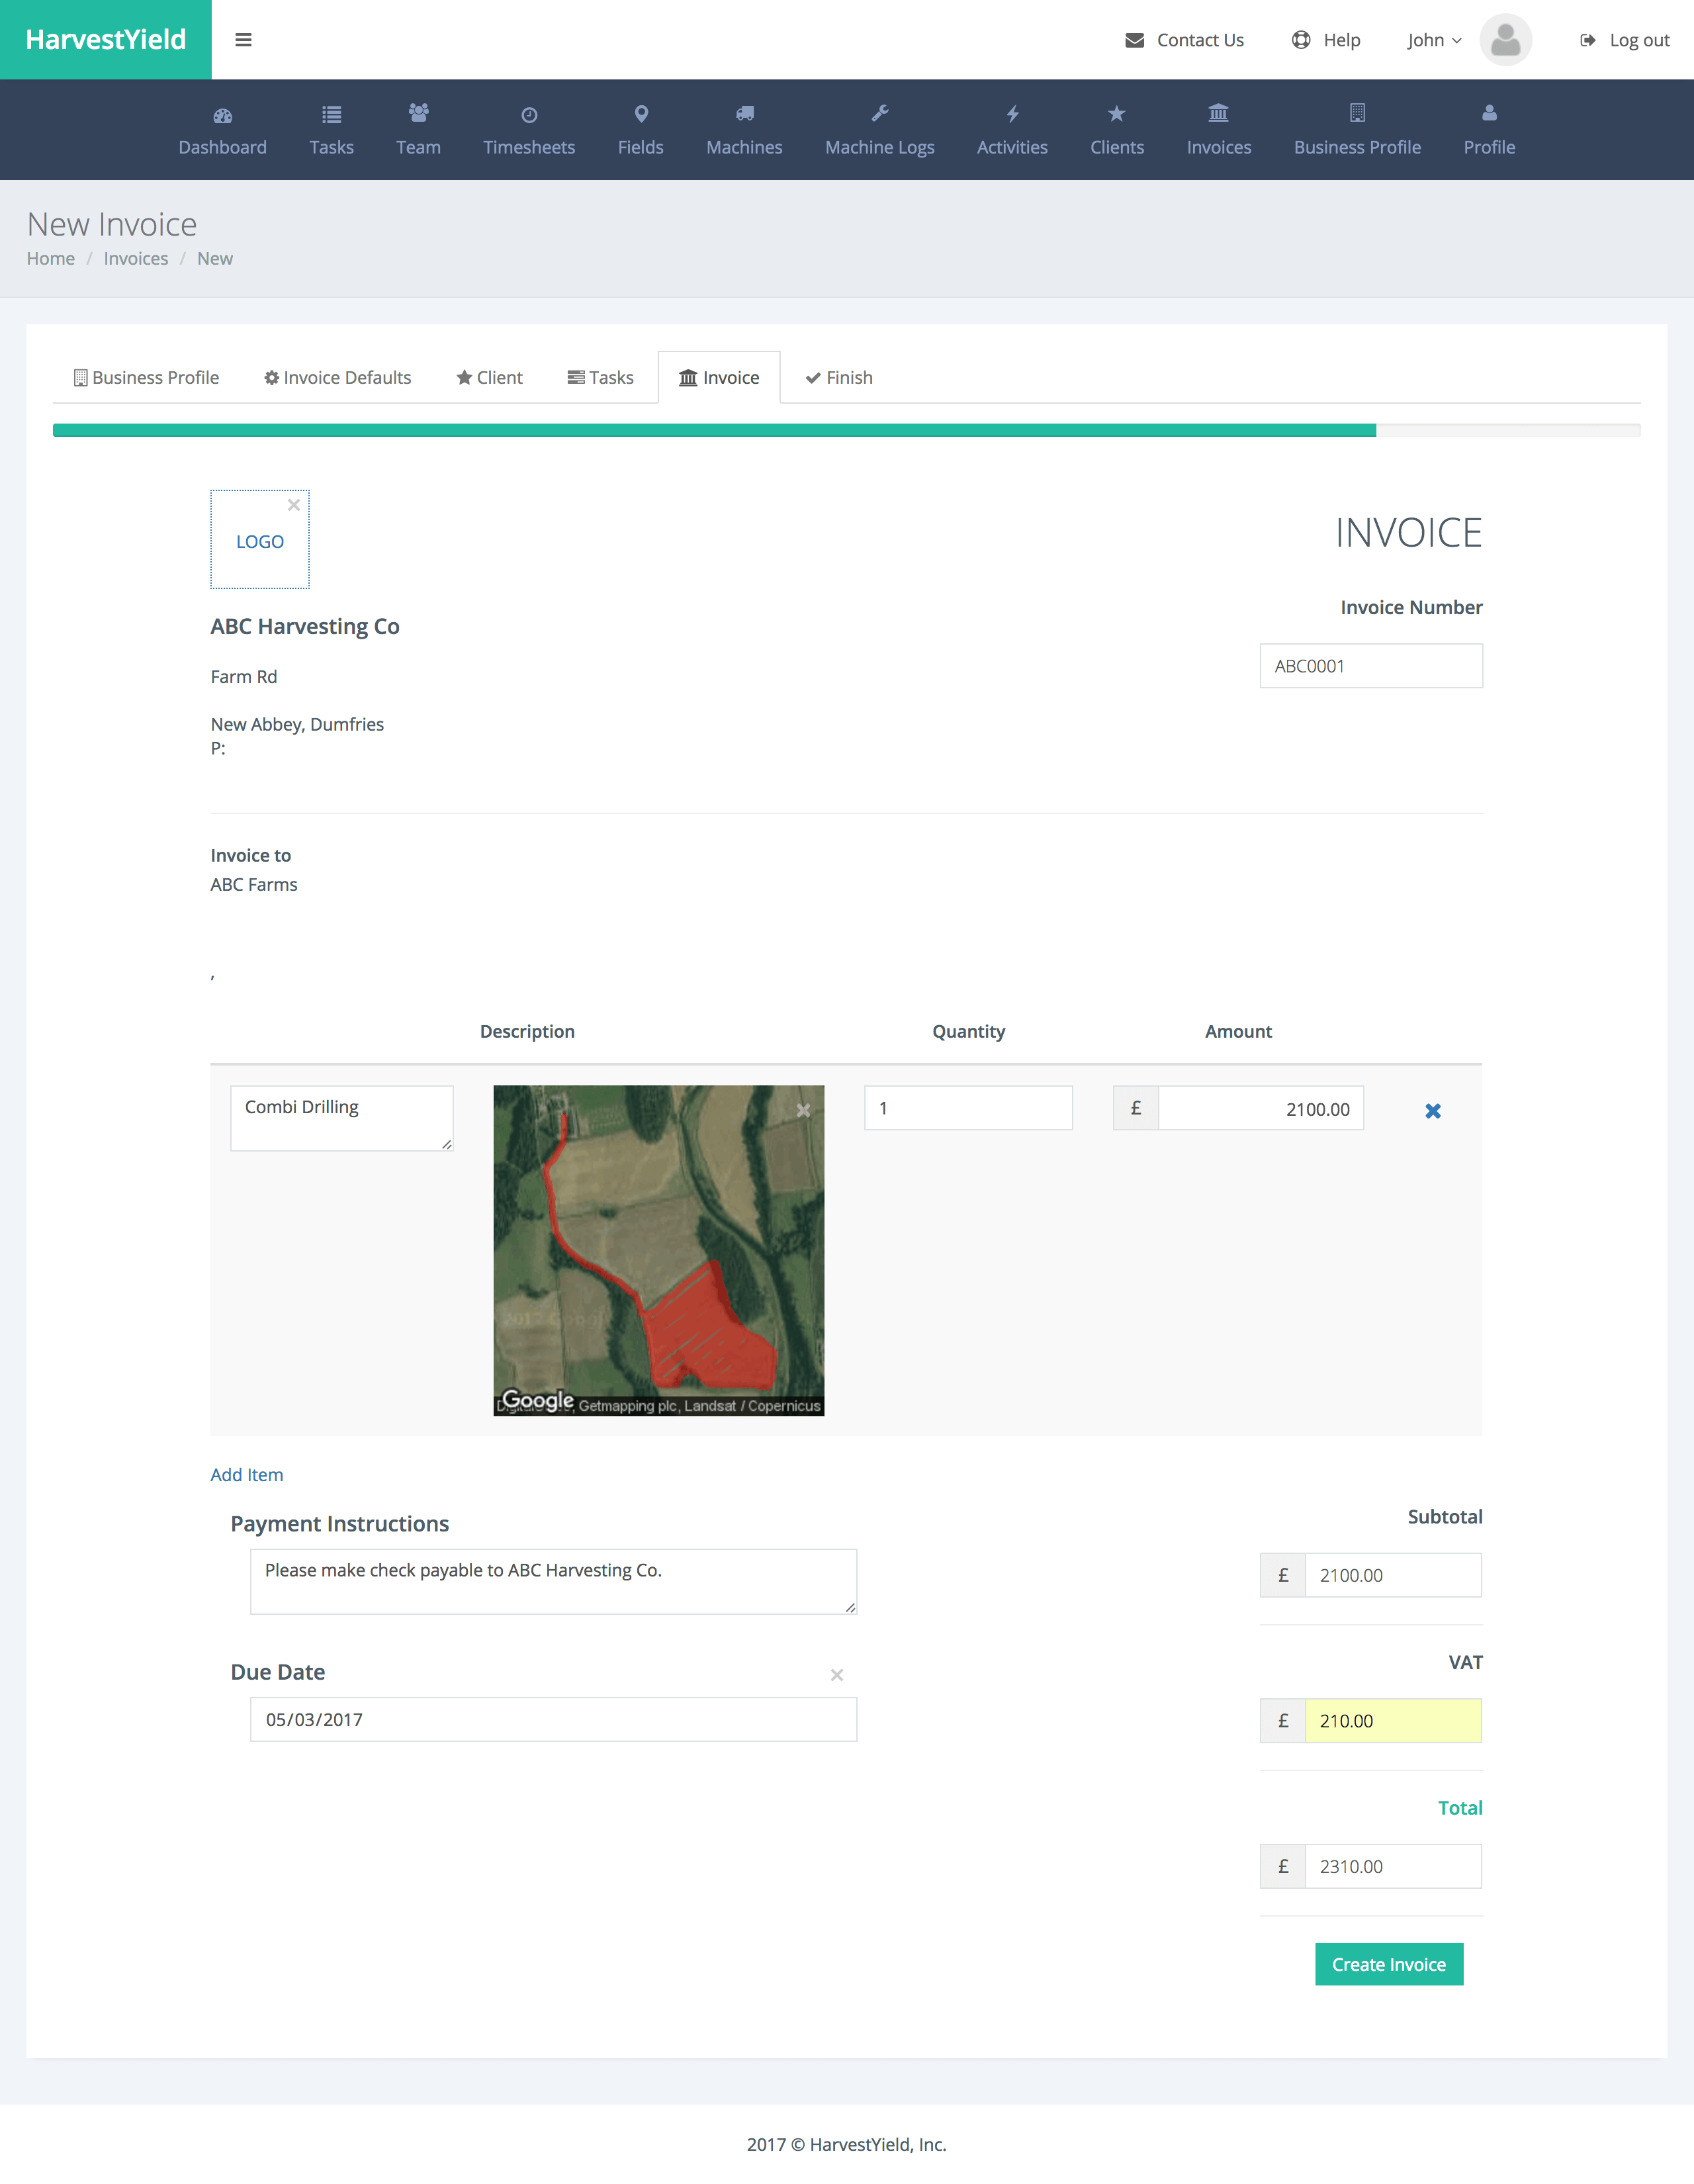
Step 6
Edit the invoice details such as Description, Quantity, Payment Due Date, Etc. and click on the "Create Invoice" button
Tip: You can remove the maps displayed on the invoice items' description as well as the Due Date field with a click on the "x" button located at the top right of these objects.
Step 7
Great job! You have created your first invoice! You can continue creating more invoices.